How do I approve WBL Eligibility and place a student in a new WBL experience based on form data?
This article explains how to use the Approve feature of WBL Eligibility to approve general eligibility for a specific WBL Type and explains how to use the Approve and Place option to also create a new WBL Experience based on the information students provide on an eligibility form.
Last updated About 4 hours ago
1. Click on Work-Based Learning
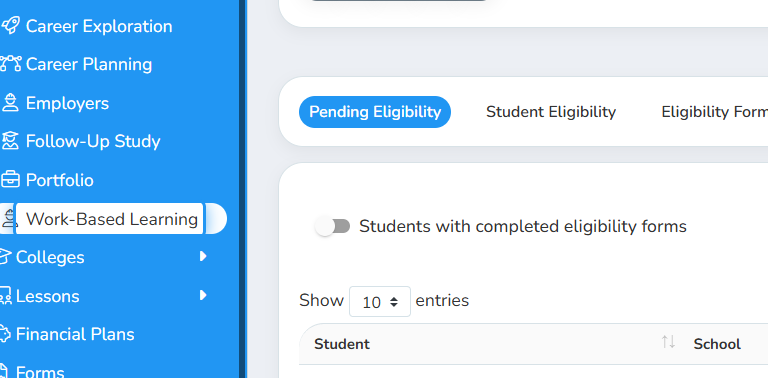
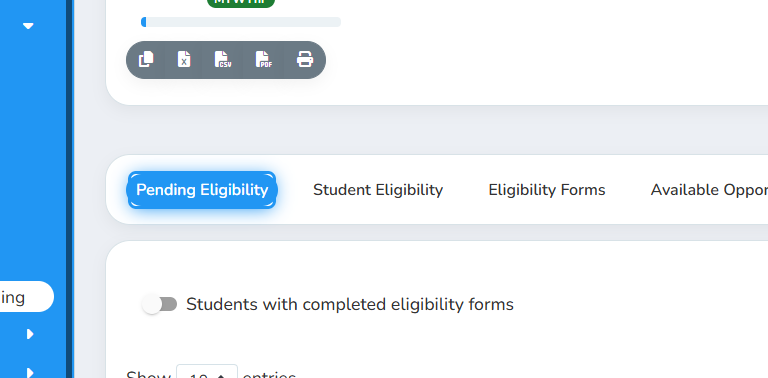
2. Click on Pending Eligibility
3. By default, you'll see students with completed eligibility forms
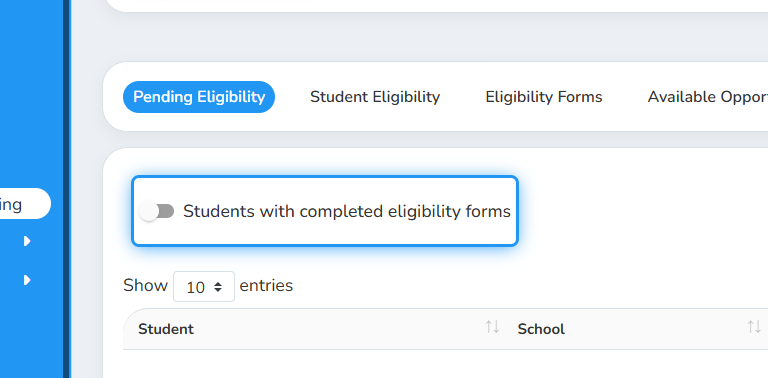
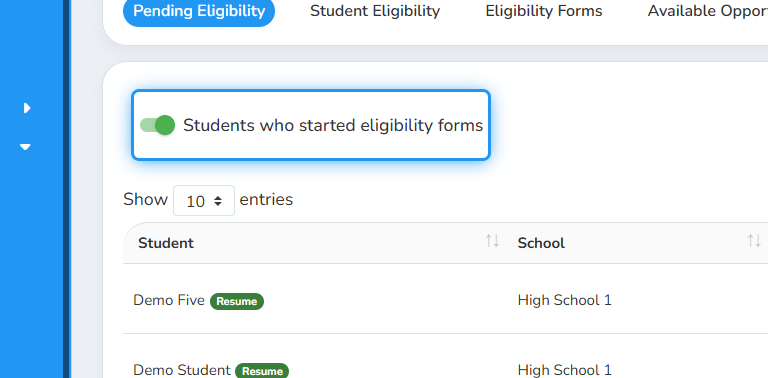
4. Click on the toggle to see all students who started eligibility forms
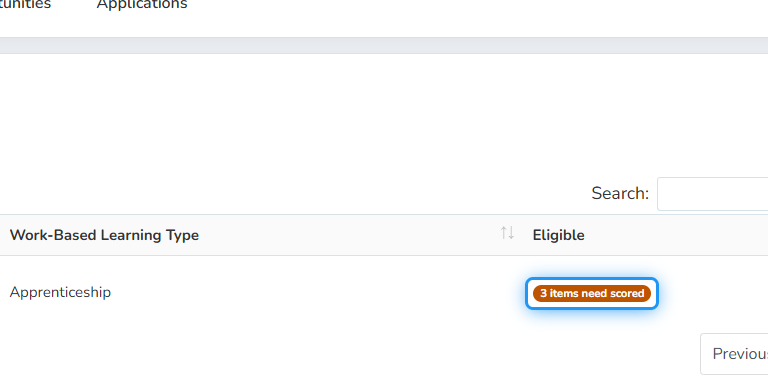
5. Click on items need scored
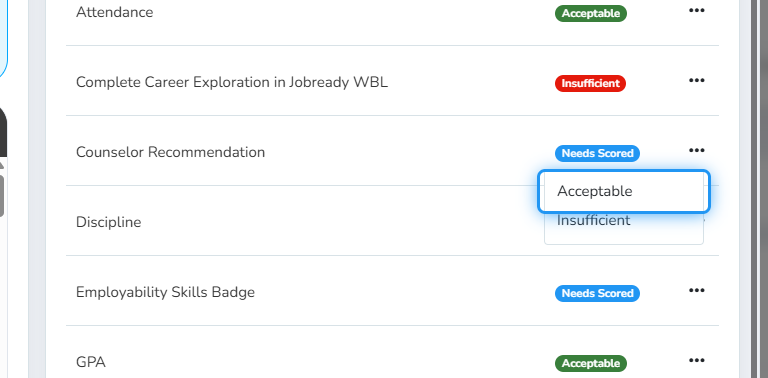
6. OPTIONAL: To rate each criteria, click on ... and choose Acceptable or Insufficient
7. You'll see an AI assessment on the student's interests and program enrollments
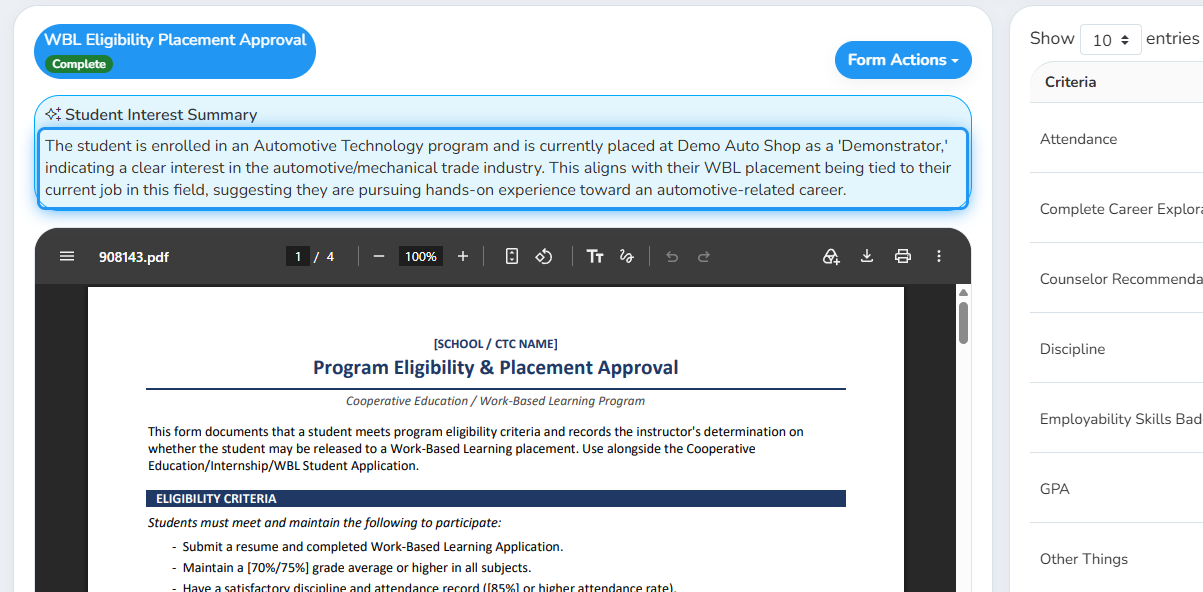
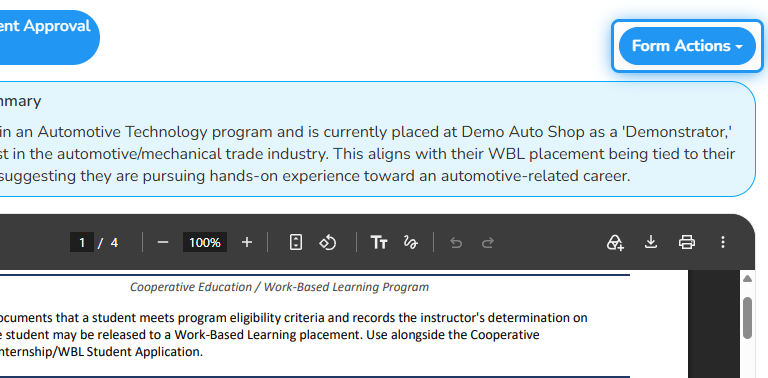
8. To manage forms, click on the tab for the form and then click on Form Actions
9. To approve Eligibility for the selected WBL Type, click on Approve
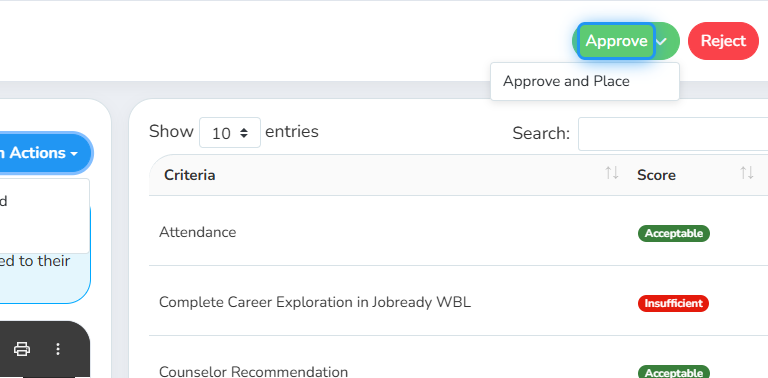
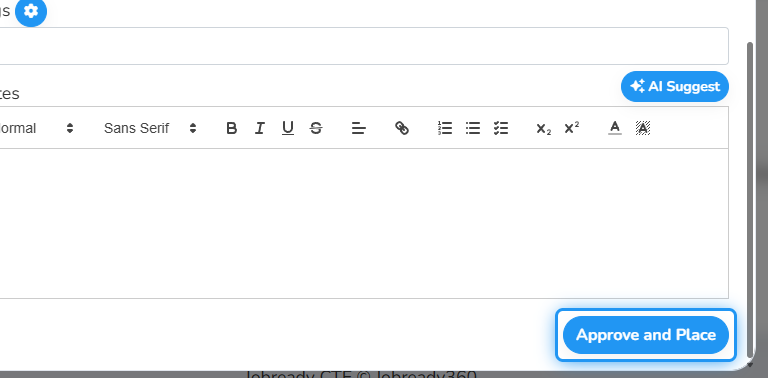
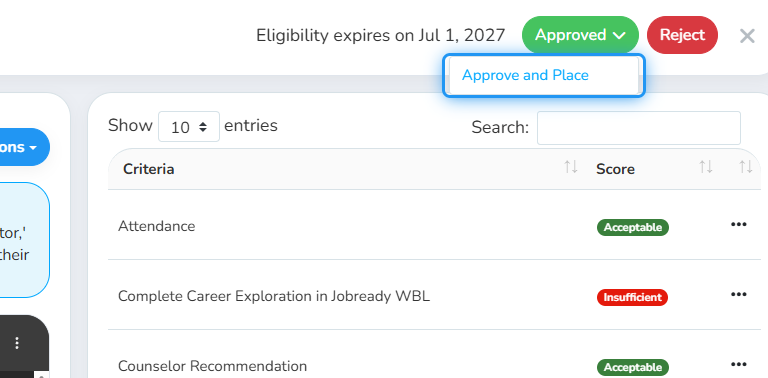
10. To approve eligibility and place the student in a new WBL experience based on the information provided on the form, click on Approve and Place
This will allow you to create a new employer/contact or match the student to an existing employer/contact based on the information provided on the form.
11. You'll see the data that was provided on the form for the employer
You can use this to see if an employer already exists. If so, select the matching employer from the dropdown list.

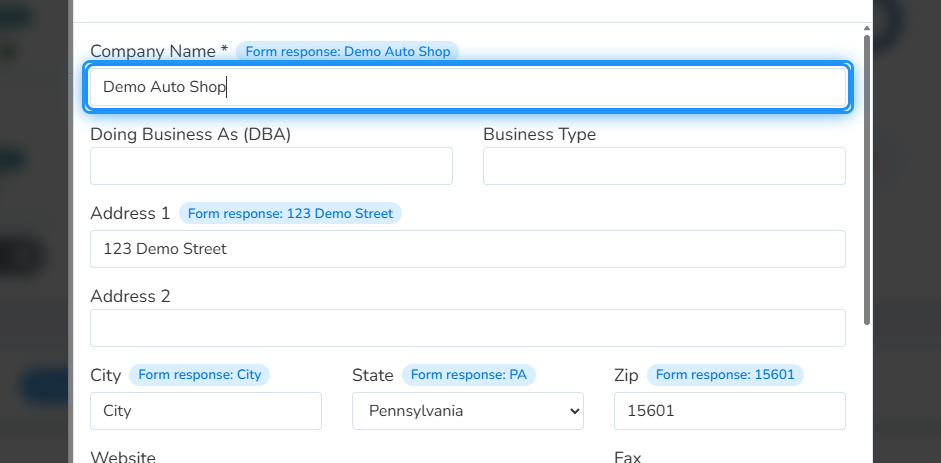
12. If you'd like to create a new employer using the information provided on the form, click on the New option
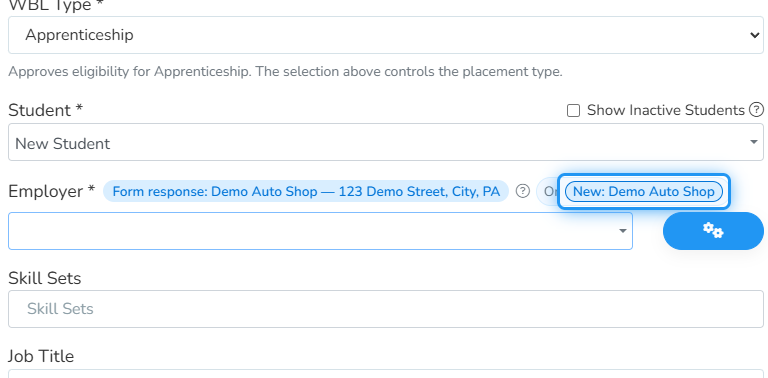
13. If you clicked on the New employer option, confirm that the information provided is accurate.
Make any changes that you'd like.
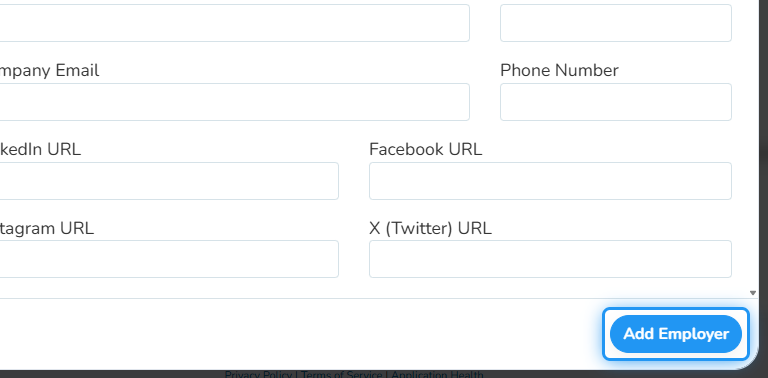
14. Click on Add Employer to create a new employer record
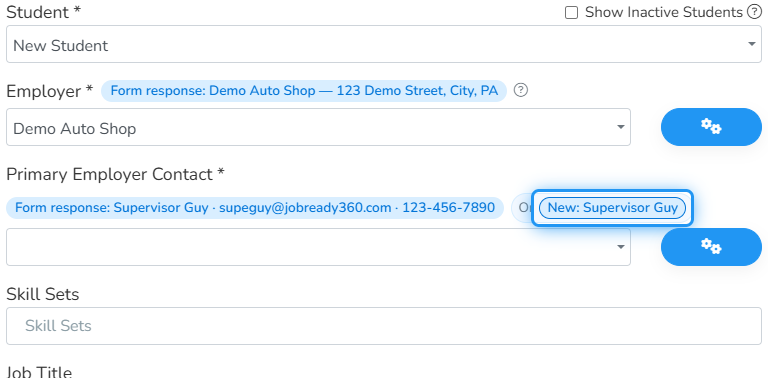
15. Use the employer contact information to see if the contact already exists. If not, click on the New option to create a new employer contact.
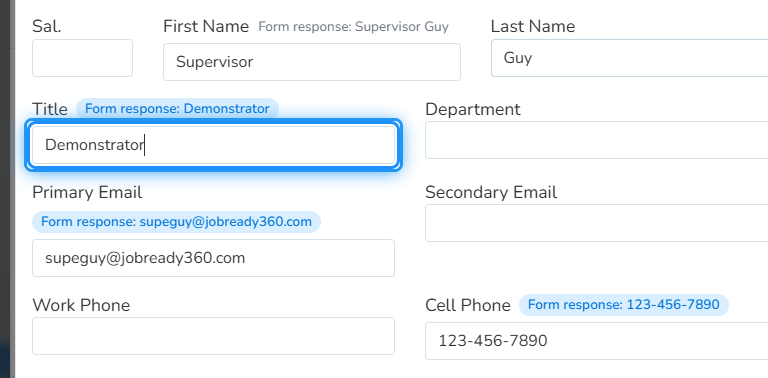
16. Confirm the data is correct. If the form asked for a full name, separate into first and last name

17. Modify other information as needed
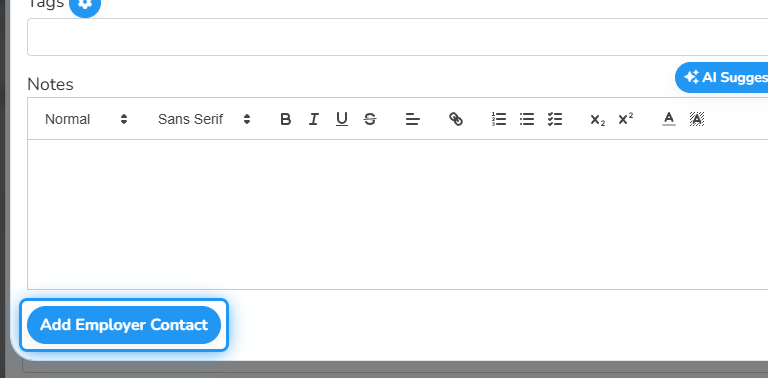
18. Click on Add Employer Contact to create a new contact
19. Click on Approve and Place to create the new WBL experience