Creating and editing Form Templates in the Form Builder
Set up a form template's PDF, signers and settings, then use the Form Builder to add, detect and edit fields.
Last updated About 3 hours ago
How do I create a form template?
A form template is the reusable version of a form: the PDF, who signs it, and the fields each signer fills out. There are two parts to setting one up:
Create the template: name it, upload the PDF, and choose its signers and settings.
Build the form: place the fields on the PDF in the Form Builder. The builder can find the fields for you and suggest what each one is.
Part 1: The Form Templates list
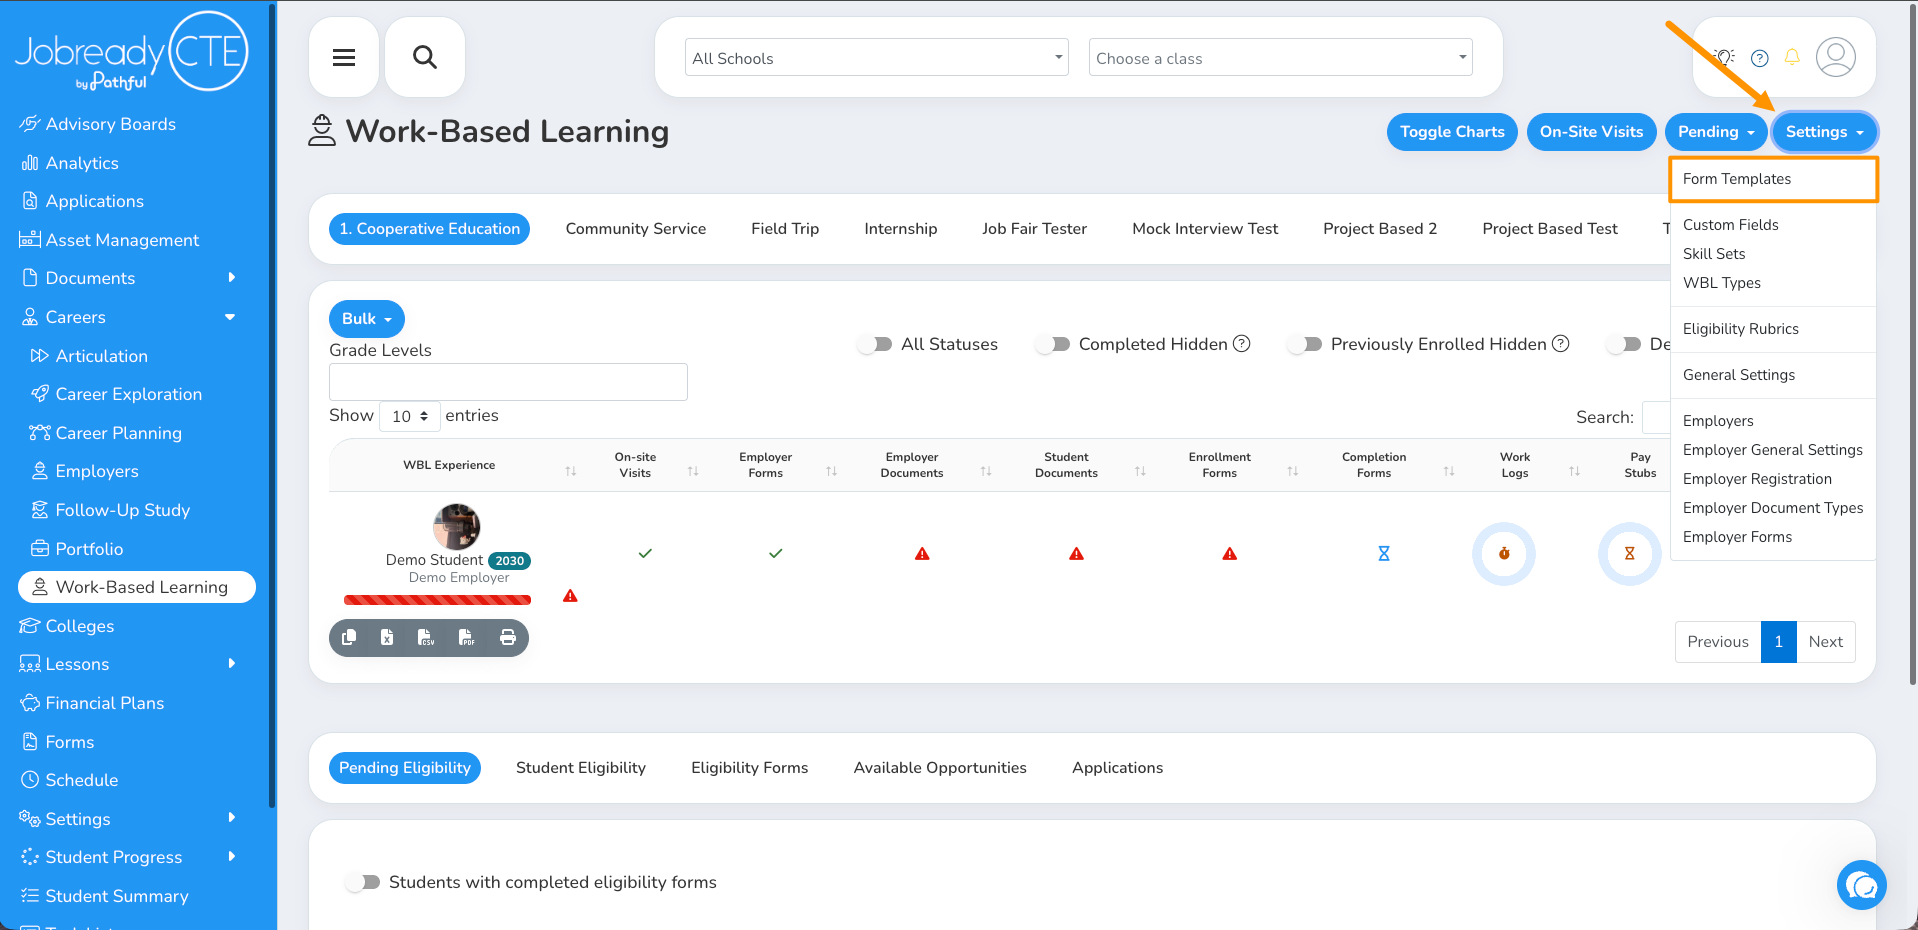
1. Open Form Templates
Open Form Templates from the menu on the Work-Based Learning or General Forms page. You can also click the Manage Form Templates cog in task lists, advisory boards, and applications.
2. Get to know the list
The list shows every template you have access to:
Name
Signers, in the order they sign
Public Link, for public templates
Last Modified, with who made the change
Created By
Status: Active, Private, or Deleted
Use Search to find a template, and the icons beside it to copy or export the list.

3. See a template's edit history
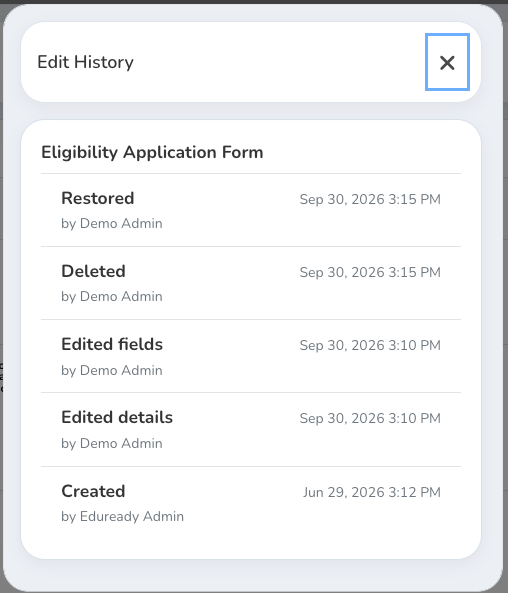
Click the date in a template's Last Modified column to open its Edit History. It lists every change, newest first, with who made it and when. For example:
Created
Edited details
Edited fields
Deleted
Restored
4. Find and restore a deleted template
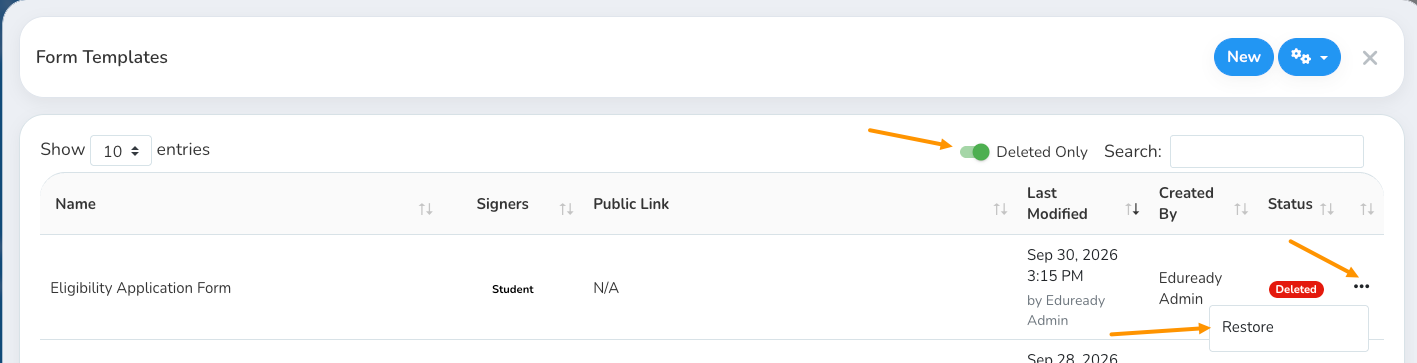
Turn on the Deleted switch next to Search. It changes from Deleted Hidden to Deleted Only, and the list shows only your deleted templates.
To bring one back, click the ... button on its row, then Restore, then confirm. The template returns to your active templates. Turn the switch off to see them again.
Part 2: Create the template
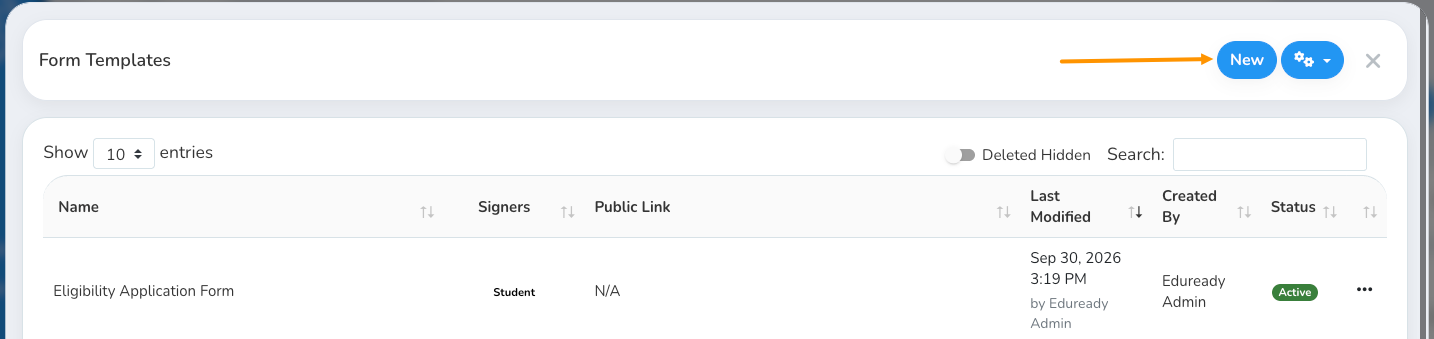
5. Click New
Click New at the top of the Form Templates window.
6. Fill out the name
This is the name of the form. All signers see it, and it's how you pick the template when you add it as a requirement elsewhere in the app.
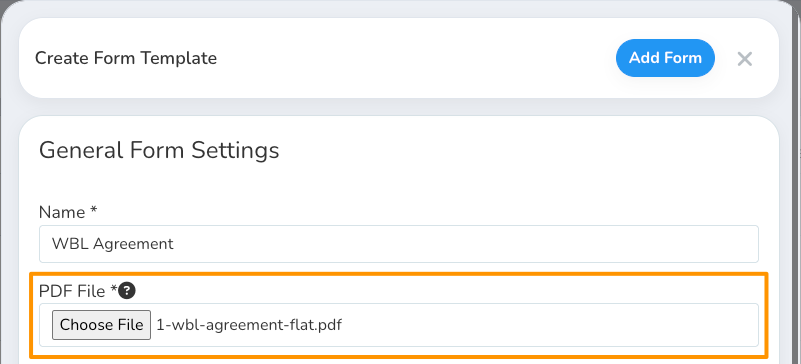
7. Upload a PDF file
Upload the PDF version of the form. If you only have the form as a Word document, open it and save it as a PDF.
If your PDF already has fillable fields (for example, fields made in Adobe), they'll be added to your form automatically. You'll still need to choose a signer for each one.
8. Choose specific pages (optional)
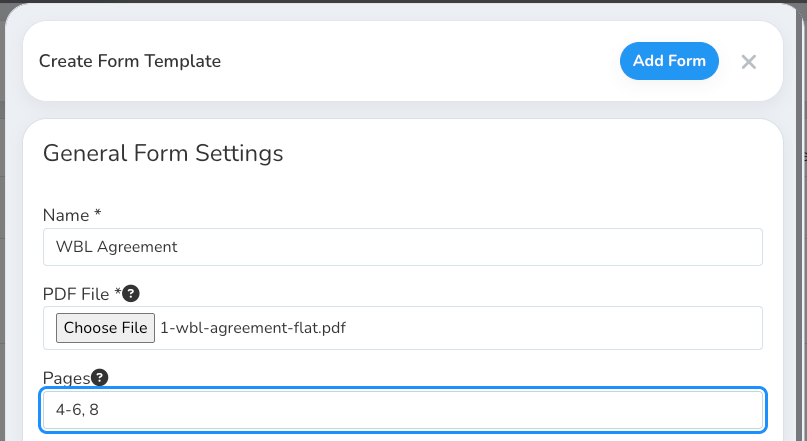
Once you choose a PDF, a Pages box appears. Use it to keep only some pages of the PDF. For example, if you have a 20-page document and only need pages 4 through 6 and page 8, enter 4-6, 8. Leave it blank to use every page.
9. Choose your template options
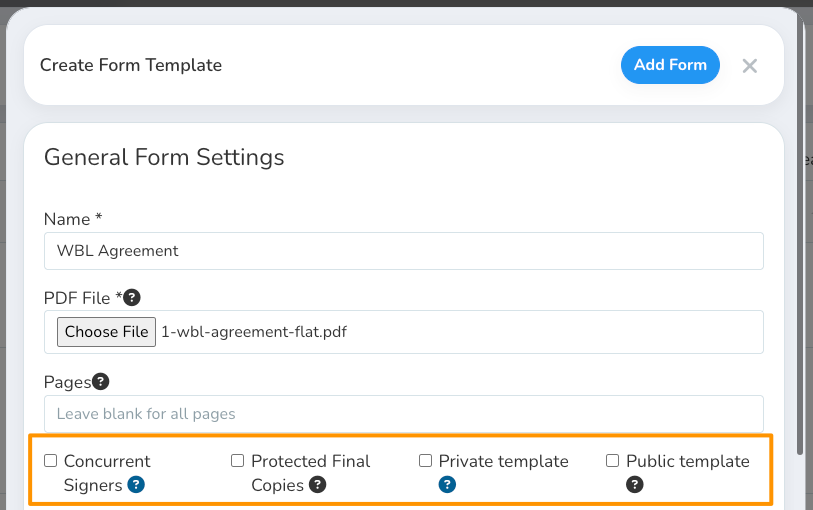
Check any of these that apply:
Concurrent Signers: Choose this if the signers after the person who starts the form only have signature, initial, and sign date fields left to complete. That can be true from the start, or only once earlier signers finish their other fields. As soon as every remaining signer only has those fields left, they can sign in any order and are all notified at the same time. Don't choose this if any remaining signer still has another kind of field to fill out.
Protected Final Copies: Only the signers and administrators can see the final copy of the form. This is especially useful for forms with confidential personal information.
Private template: No one but you can make changes to the template, apart from your administrators. What does it mean to make a form template private?
Public template: The template gets a link that anyone can use to submit the form, even if they aren't logged in. On a public template, the first signer is a Dynamic Signer or the Current User, and every signer after that must be a Static Signer.
10. Choose a career cluster and pathway (optional)
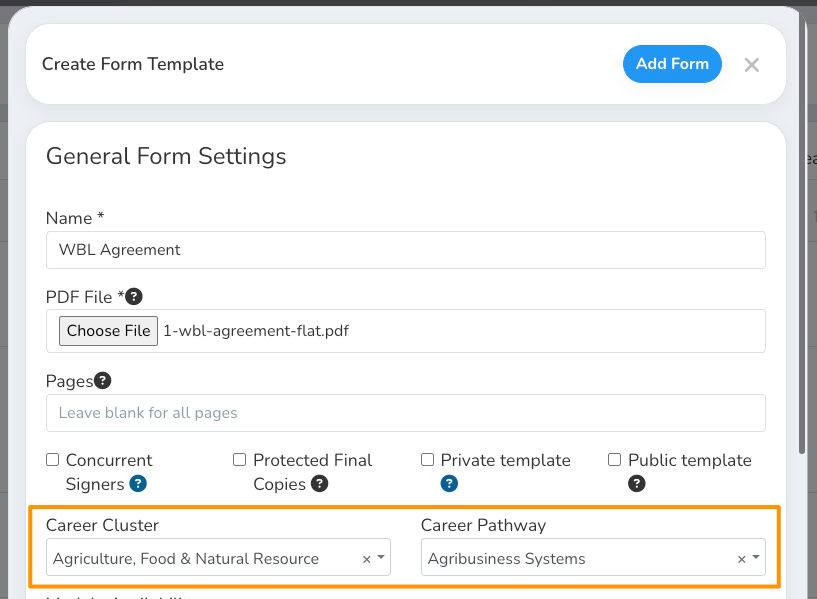
If this template is specific to a career cluster, choose it here. After you choose a cluster, a Career Pathway box appears if you want to narrow it further.
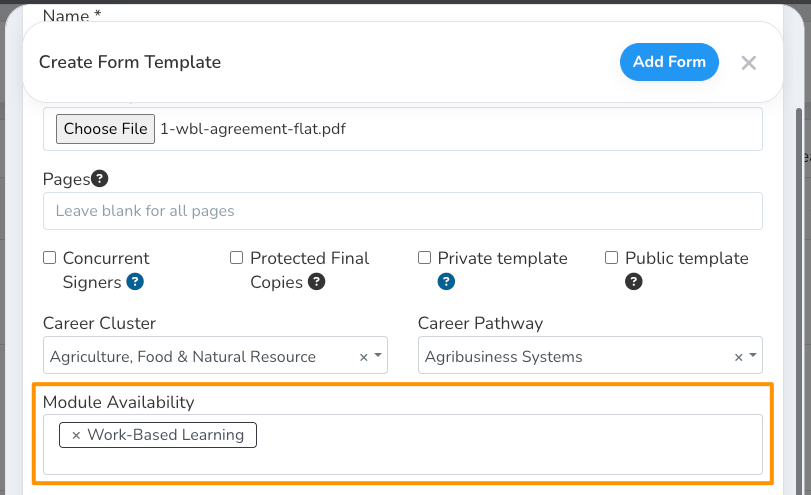
11. Choose module availability
Choose which parts of the app can use this template: Advisory Boards, Applications, General Forms, Task Lists, and Work-Based Learning. Leave it blank to make it available everywhere. Will my form templates be seen in all different modules in the application?
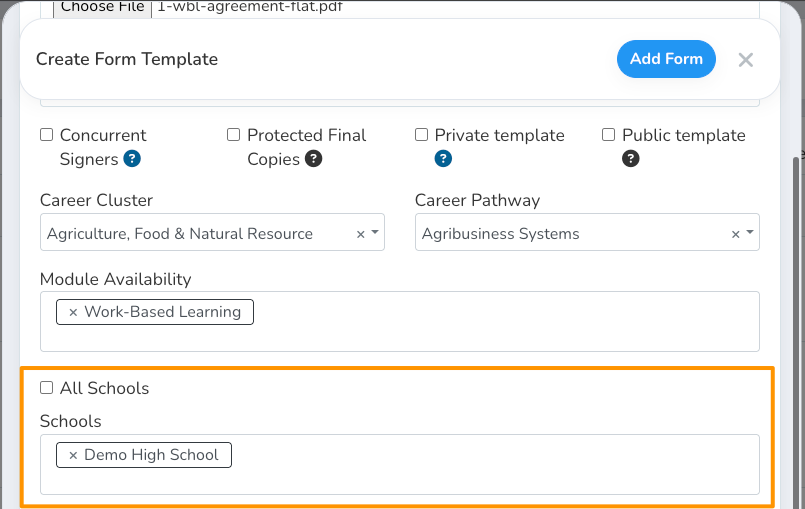
12. Choose schools (if your site uses school selection)
Share the template with All Schools (if you have access to all schools), or choose the specific schools that should use it.
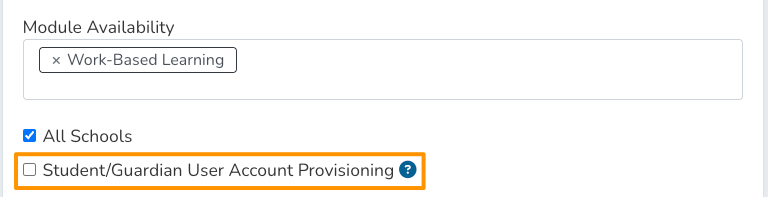
13. Choose account provisioning (optional)
Check Student/Guardian User Account Provisioning if this form is used to create student or guardian accounts.
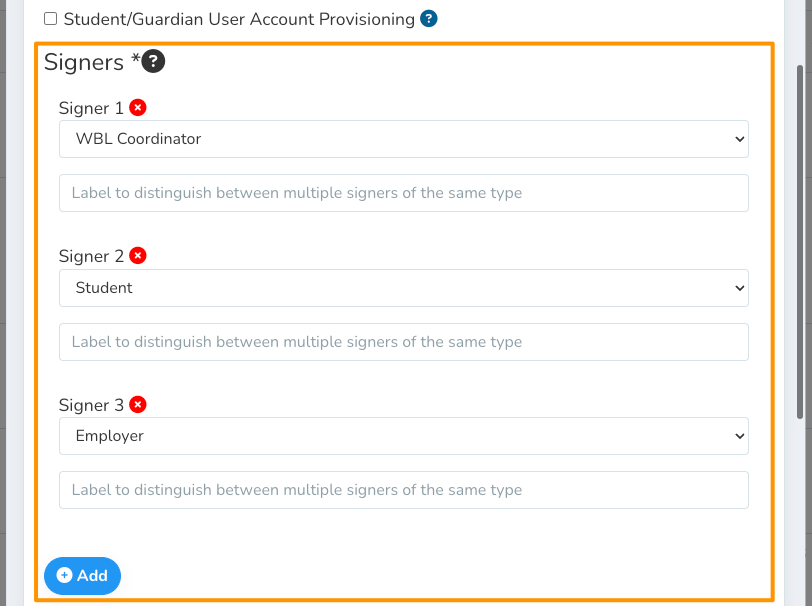
14. Add your signers
Click + Add under Signers and add each signer in the order they should sign. You can give each signer a label to tell apart signers of the same type, such as "Parent 1" and "Parent 2". The signer types are:
Static Signer: A specific person who always signs this part of the form. Enter their name and email, and the form goes to them automatically.
Dynamic Signer: Someone you don't know ahead of time. The person submitting the form enters their name and email.
Current User: Whoever is logged in and submitting the form.
Employer: Choose from the employer contacts in the system.
Guardian: Choose from the guardians in the system.
Role: A role such as "Principal", with its members managed in one place. This is better than a Static Signer when the person might change: update the role's member once instead of every template.
Sending School: Choose from the sending school accounts in the system.
Student: Choose from the student accounts in the system.
Teacher: Choose from the teacher accounts in the system.
WBL Coordinator: Choose from the WBL Coordinator accounts in the system.
Counselor: Choose from the counselor accounts in the system. If the form is about a specific student, it uses that student's counselor.
The choices for each signer type narrow down to fit the form being submitted. For example, a form for a WBL experience already knows the student, their teachers, and their guardians.
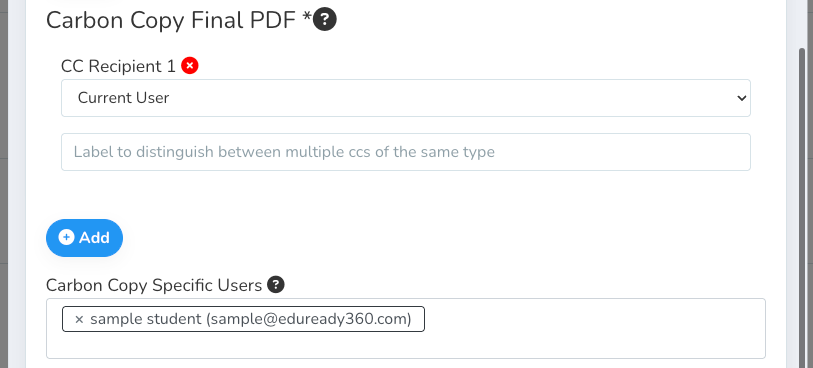
15. Add carbon copies (optional)
Carbon Copy Final PDF: Click + Add and choose a signer type to receive a copy of each completed submission.
Carbon Copy Specific Users: Choose specific people who should receive the final copy of every completed form from this template.
16. Add progressions (optional)
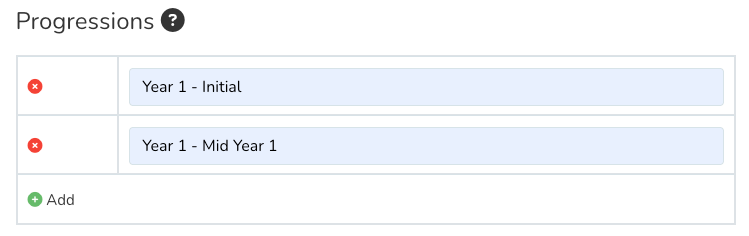
Progressions are for forms that are filled out in stages over time. For example, part of a form might be completed at the beginning of the year and the rest at midyear. You'd add two progressions, "Beginning of Year" and "Midyear", and choose their dates when the form is submitted. After the first progression is done, the form reopens on the next date so the rest can be filled out.
17. Set up reminders and email text
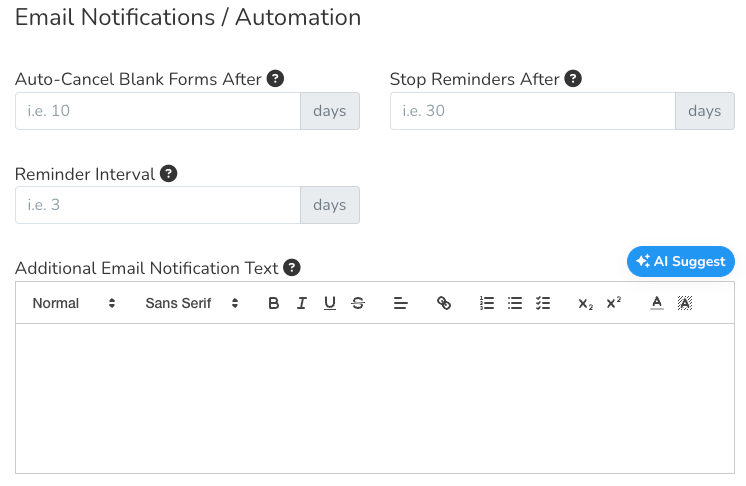
Auto-Cancel Blank Forms After: The number of days a form can sit untouched before it's canceled. Forms that anyone has signed are never auto-canceled.
Stop Reminders After: The number of days before reminders to signers stop.
Reminder Interval: How often, in days, signers are reminded to sign.
Additional Email Notification Text: Anything you enter here is added to the email each signer gets when it's their turn to sign.
18. File completed forms in student documents (optional)
Check File in Student Documents and choose a Student Document type. Each completed submission is filed in the documents of any student who signed the form.

19. Save the template
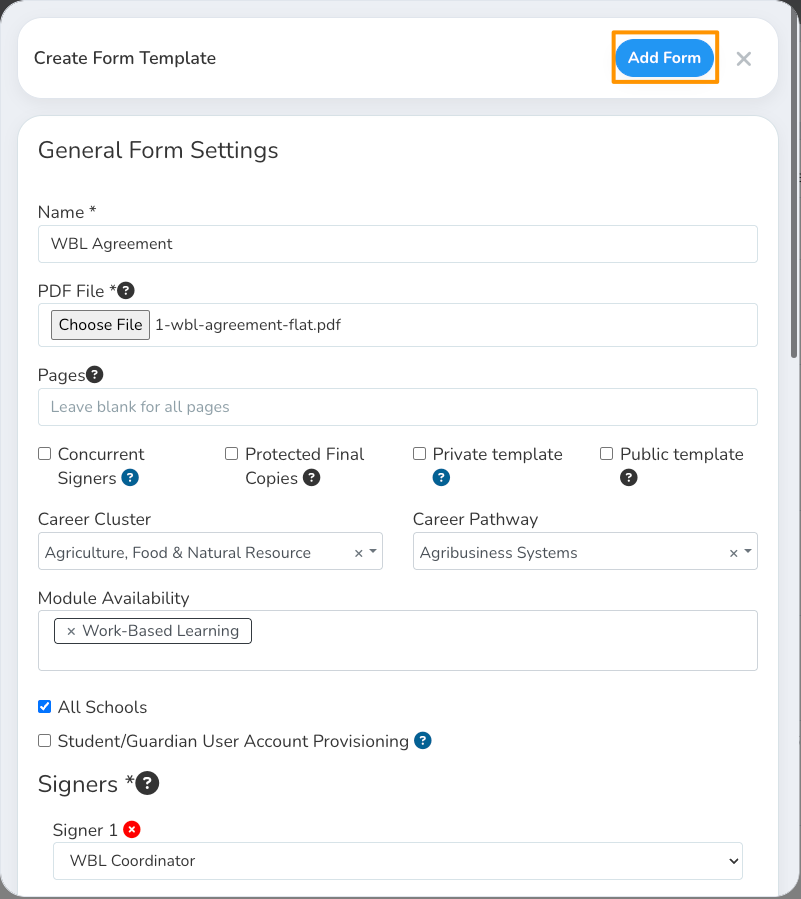
Click Add Form at the top right. The window closes and your new template appears in the list.
Part 3: Build the form
20. Open the Form Builder
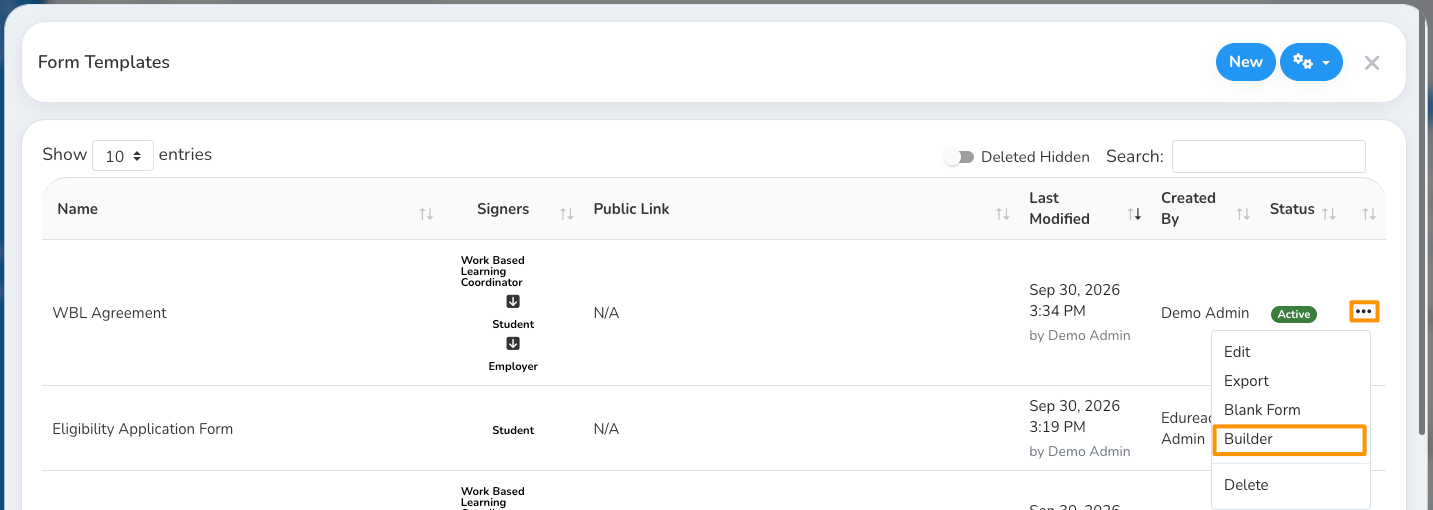
Click the ... button on your template's row, then click Builder.
21. Get to know the builder
The builder has three areas, with a toolbar across the top:
Toolbar: Field types, undo and redo, zoom, Detect fields, and the keyboard shortcuts list.
Left side: Suggested fields and the list of fields on your form.
Middle: Your PDF's pages, where you place and arrange fields.
Right side: The settings for whichever field you select.

22. Review the suggested fields
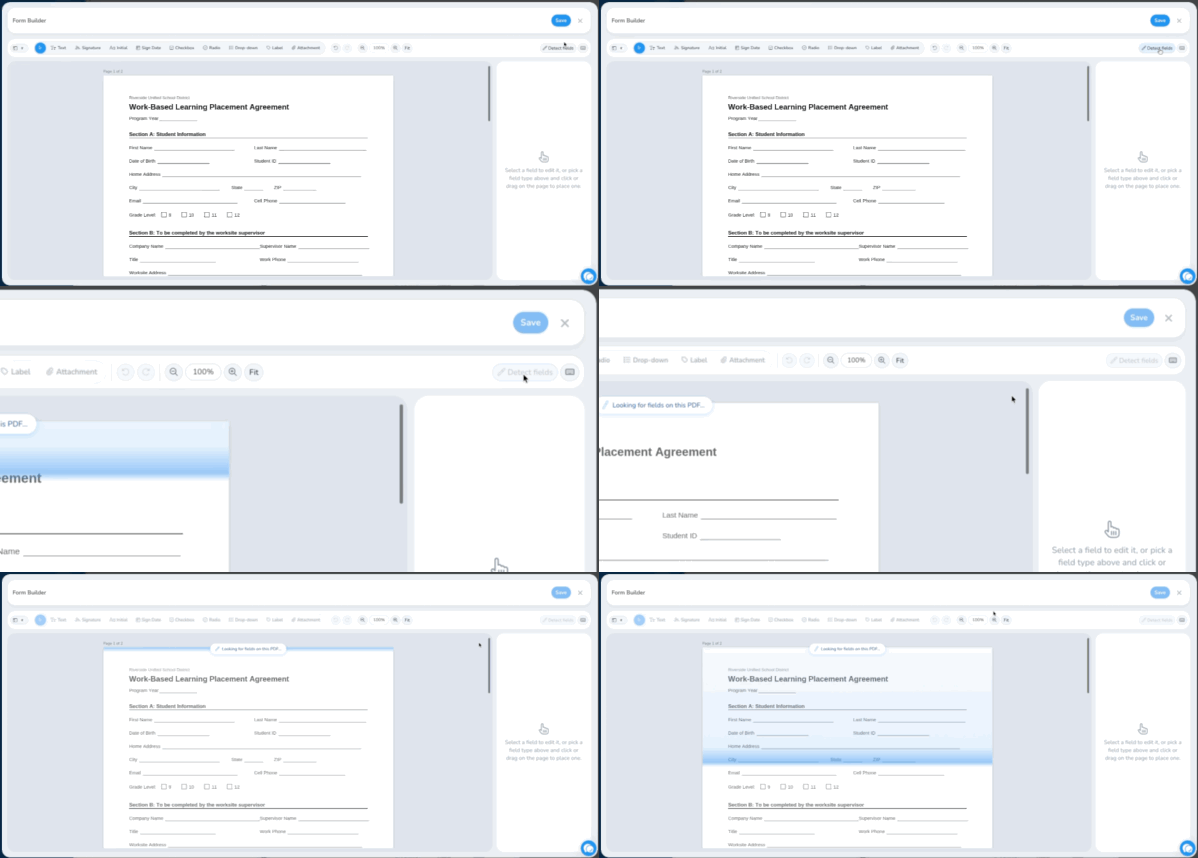
When you open a new template in the builder, it scans your PDF and suggests the fields it finds. For each field it suggests a name, a type, and the signer who should fill it out, plus a prefill or calculation where one fits. This usually takes a few seconds per page, and an "Analyzing pages for fields…" message shows the progress. The pages are locked until it finishes.
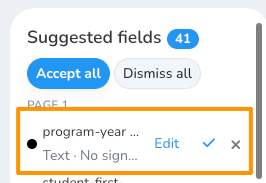
Suggested fields appear on the page with dashed outlines, colored by signer. They're also listed under Suggested fields on the left, grouped by page.

For each suggestion, you can:
Click ✓ Accept to add it to your form as it is.
Click Edit to add it and open its settings so you can make changes.
Click × to dismiss it.
You can also hover over a suggestion on the page to accept or dismiss it there. To handle everything at once, use Accept all or Dismiss all. Clicking a suggestion in the list takes you to it on the page.
Note: Nothing is added to your form until you accept it and click Save. When the builder isn't sure who fills out a field, it leaves the signer blank for you to choose.
23. Find fields later with Detect fields
Click Detect fields in the toolbar at any time to scan the PDF again, for example if you skipped the suggestions or replaced the PDF. If your form already has fields, it only suggests the ones that are missing.

24. Place fields yourself
Choose a field type from the toolbar:
Text: A general text box for anything the signer types, including numbers, dates, and times.
Signature: The signer draws their signature, or types their name and a signature is made for them.
Initial: The signer's initials.
Sign Date: Fills in the date automatically when the signer signs.
Checkbox: A box to check.
Radio: Like a checkbox, but radio buttons with the same name are linked, so only one can be picked. This is good for choices like Yes or No.
Drop-down: A list to choose from. It can use a list from the system, such as schools, or your own options.
Label: Text added to the form that no one fills in. It has no signer. A label can also be prefilled, for example with the student's name.
Attachment: Lets the signer attach a PDF file.
Then click on the page to drop a field, or click and drag to draw it at the size you want. The field type stays selected, so you can keep placing fields of the same type. When you're done, press V or Esc, or click the arrow button, to go back to selecting.
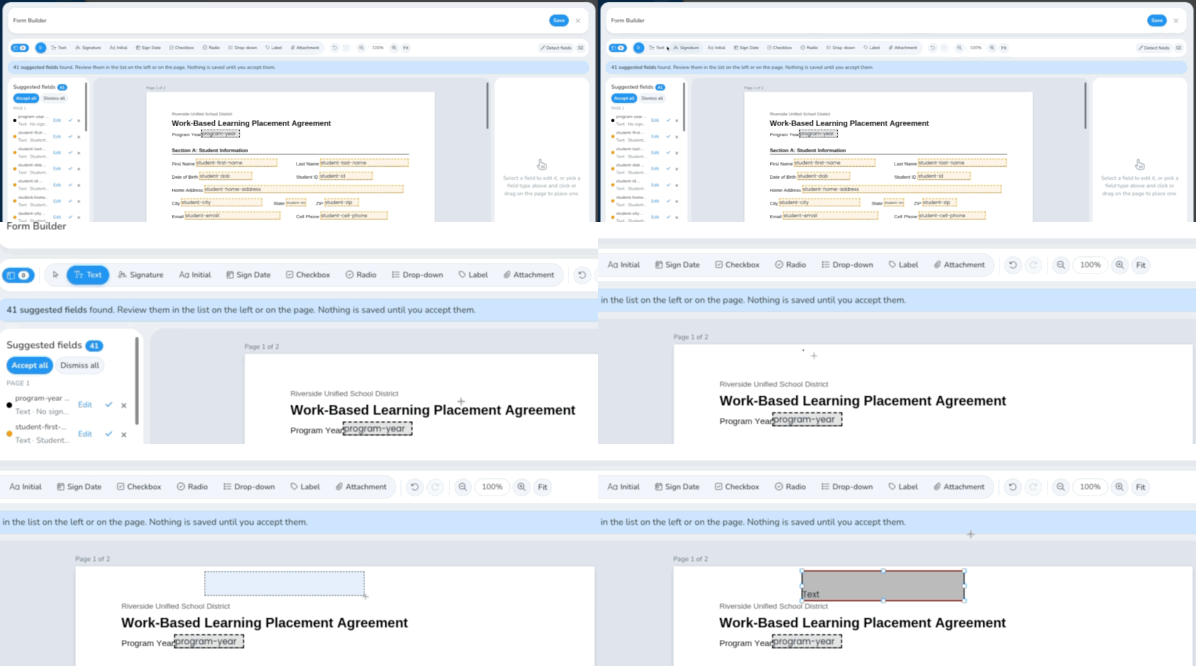
Tip: Choose a signer for your first field. Each new field you place after that uses the same signer until you choose a different one.
25. Select, move, and resize fields
Select a field by clicking it. Its settings open on the right.
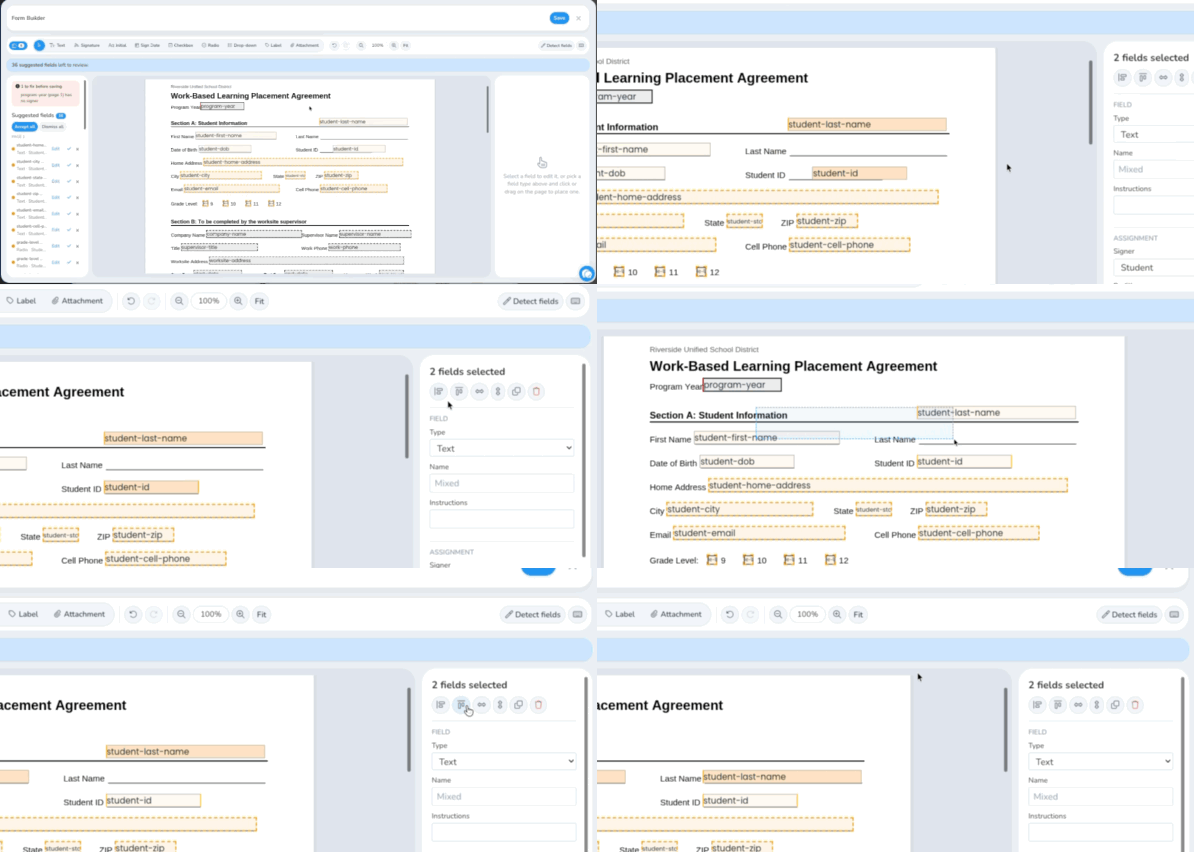
Select several fields by holding Shift or Ctrl (⌘ on a Mac) while you click, or by dragging a box around them on an empty part of the page.
Move fields by dragging them. Use the arrow keys to nudge them 1 pixel at a time, or hold Shift to nudge 10 pixels.
Resize a field by dragging any of the handles around it. Hold Shift to keep its shape.
Line up several selected fields with the buttons at the top of the settings panel: Align left edges, Align top edges, Match width, and Match height.
26. Copy, paste, and duplicate fields
Copy with Ctrl+C and paste with Ctrl+V. Fields paste where your mouse pointer is, even on a different page.
Duplicate with Ctrl+D, or with the duplicate button in the settings panel.
Copies get new names automatically, such as "phone-2". A copied set of radio buttons becomes its own new group. Calculations that refer to other copied fields are updated to point to the new copies.
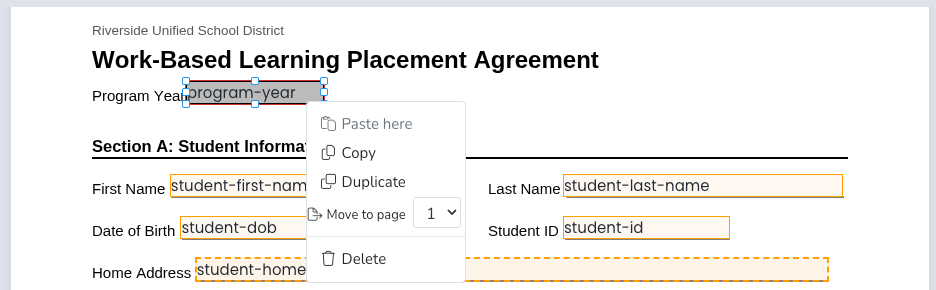
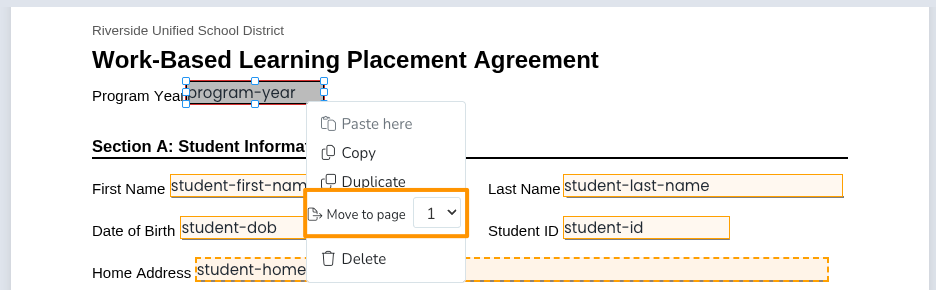
You can also right-click a field for Copy, Duplicate, Paste here, Move to page, and Delete.
27. Move fields to another page
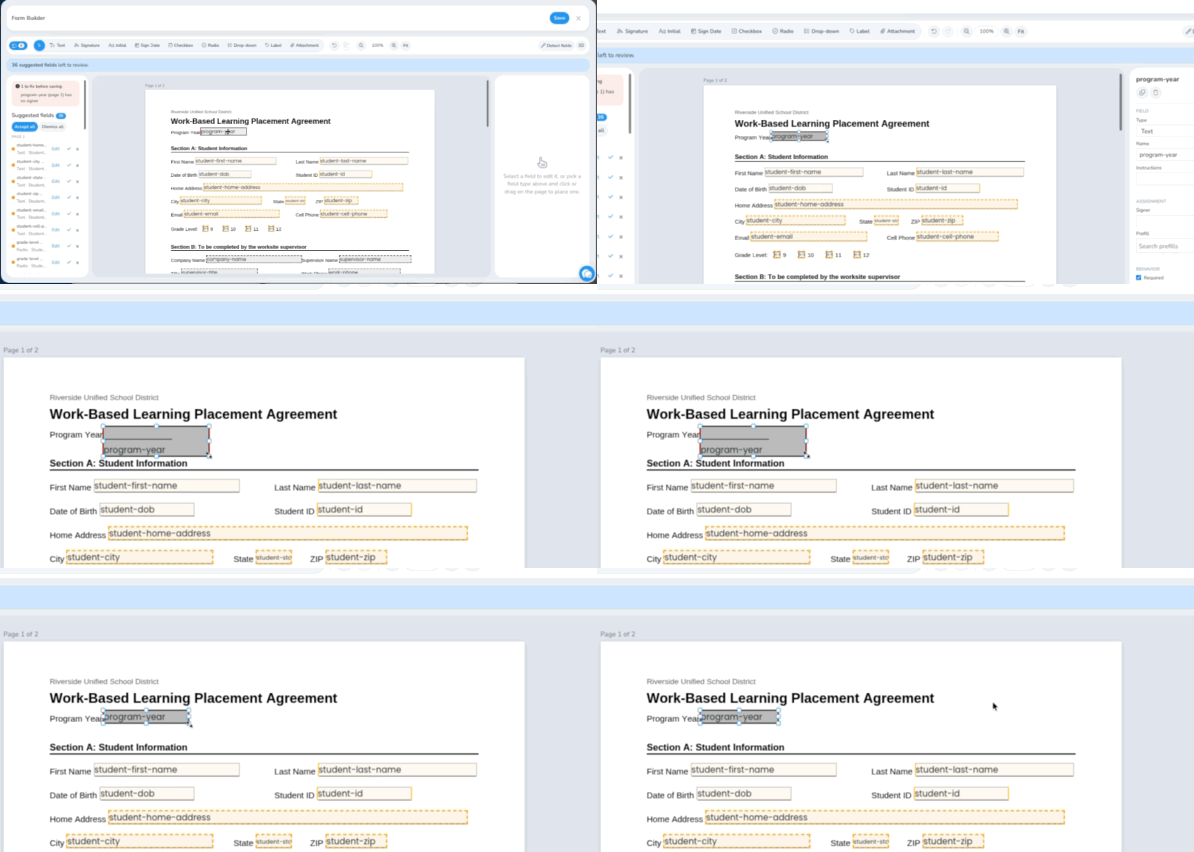
Drag the fields onto another page. You can also right-click and choose Move to page, or change the Page number in the field's settings.
28. Set up each field
Select a field to change its settings on the right. If you select several fields, your changes apply to all of them. Settings that don't apply to a field type are hidden.
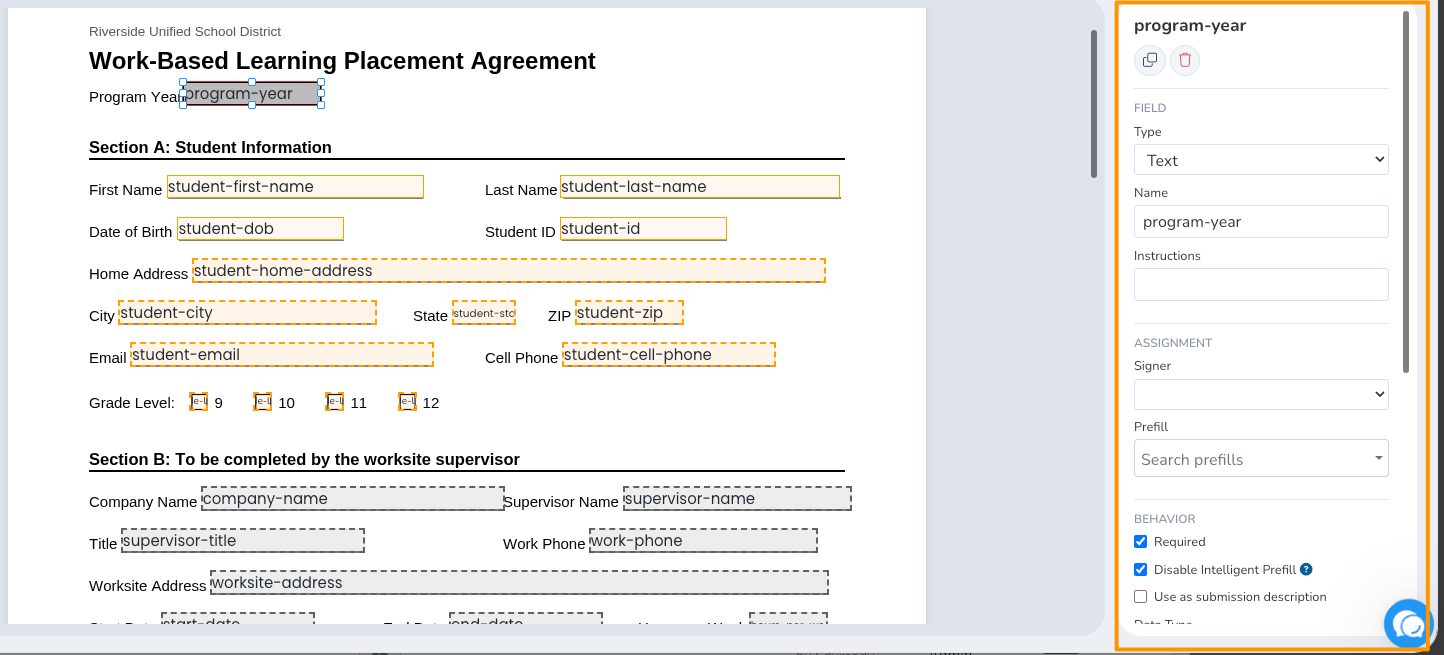
Field
Type: Change the field's type, for example from Text to Drop-down.
Name: Identifies the field in reports and calculations. Radio buttons that share a name form one group, so only one of them can be picked.
Instructions: Shown to the signer as a tip, to explain how to fill out the field.
Assignment
Signer: The person who fills out this field. Every field except a Label needs a signer before you can save.
Progressions: If the template has progressions, choose which ones this field belongs to.
Prefill: For Text fields and Labels, fill in information from the system, such as the student's name. Start typing to search. Options are grouped by who they're about, such as "Student - First Name" or "Employer - Company Name", and match the signers on your template.
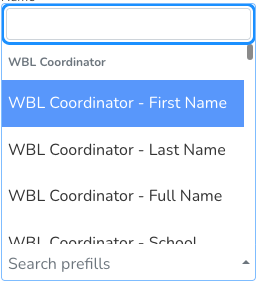
If a field shows an orange !, its prefill no longer matches the template's signers, for example after you changed a signer. Pick another option from the Prefill list.
Behavior
Required: The signer must fill out this field. For a radio group, marking one of the radio buttons as required makes the whole group required.
Disable Intelligent Prefill: What is intelligent prefill on form fields?
Use as submission description: Copies what's entered in this field into the submission's description, which makes submissions from the same template easier to tell apart.
Value: For checkboxes and radio buttons, the value recorded when the box is picked.
Drop-Down Types: Where a drop-down's choices come from:
Classes, Courses, Industry Certifications, Schools, and Sending Schools: everything of that kind in your system.
Ethnicity and Gender: our standard lists, best for account provisioning.
Skills: the skills in the skill set for the student's WBL experience. This only works on WBL experience forms.
Other: your own choices.
Drop-Down Values: When the type is Other, enter your choices separated by a pipe (|). For example,
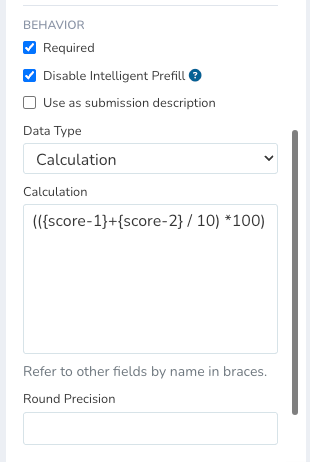
one|two|three. The pipe key is Shift+\ on most keyboards.Data Type: For Text fields and Labels, what kind of answer the field takes:
Text: Any letters and numbers. This is the default.
Integer: Whole numbers only.
Decimal: Numbers with decimals. Use Round Precision to set the number of decimal places.
Date: The signer picks a date (mm/dd/yyyy).
Time: The signer picks a time (hh:mm am/pm).
Calculation: Works out a value from other fields. Refer to fields by name in braces, for example
({field-1}+{field-2}+{field-3})/3for an average. Use Round Precision to set the number of decimal places.
Text Formatting: For text, make entries Proper Case (the first letter of each word capitalized), Uppercase, or Lowercase.
Layout
Text Align: Left, Center, or Right.
Vertical Align: Top, Center, or Bottom of the box.
Position
X, Y, Width, Height, and Page: Set the field's exact position and size. With several fields selected, this is a quick way to make them all the same size.
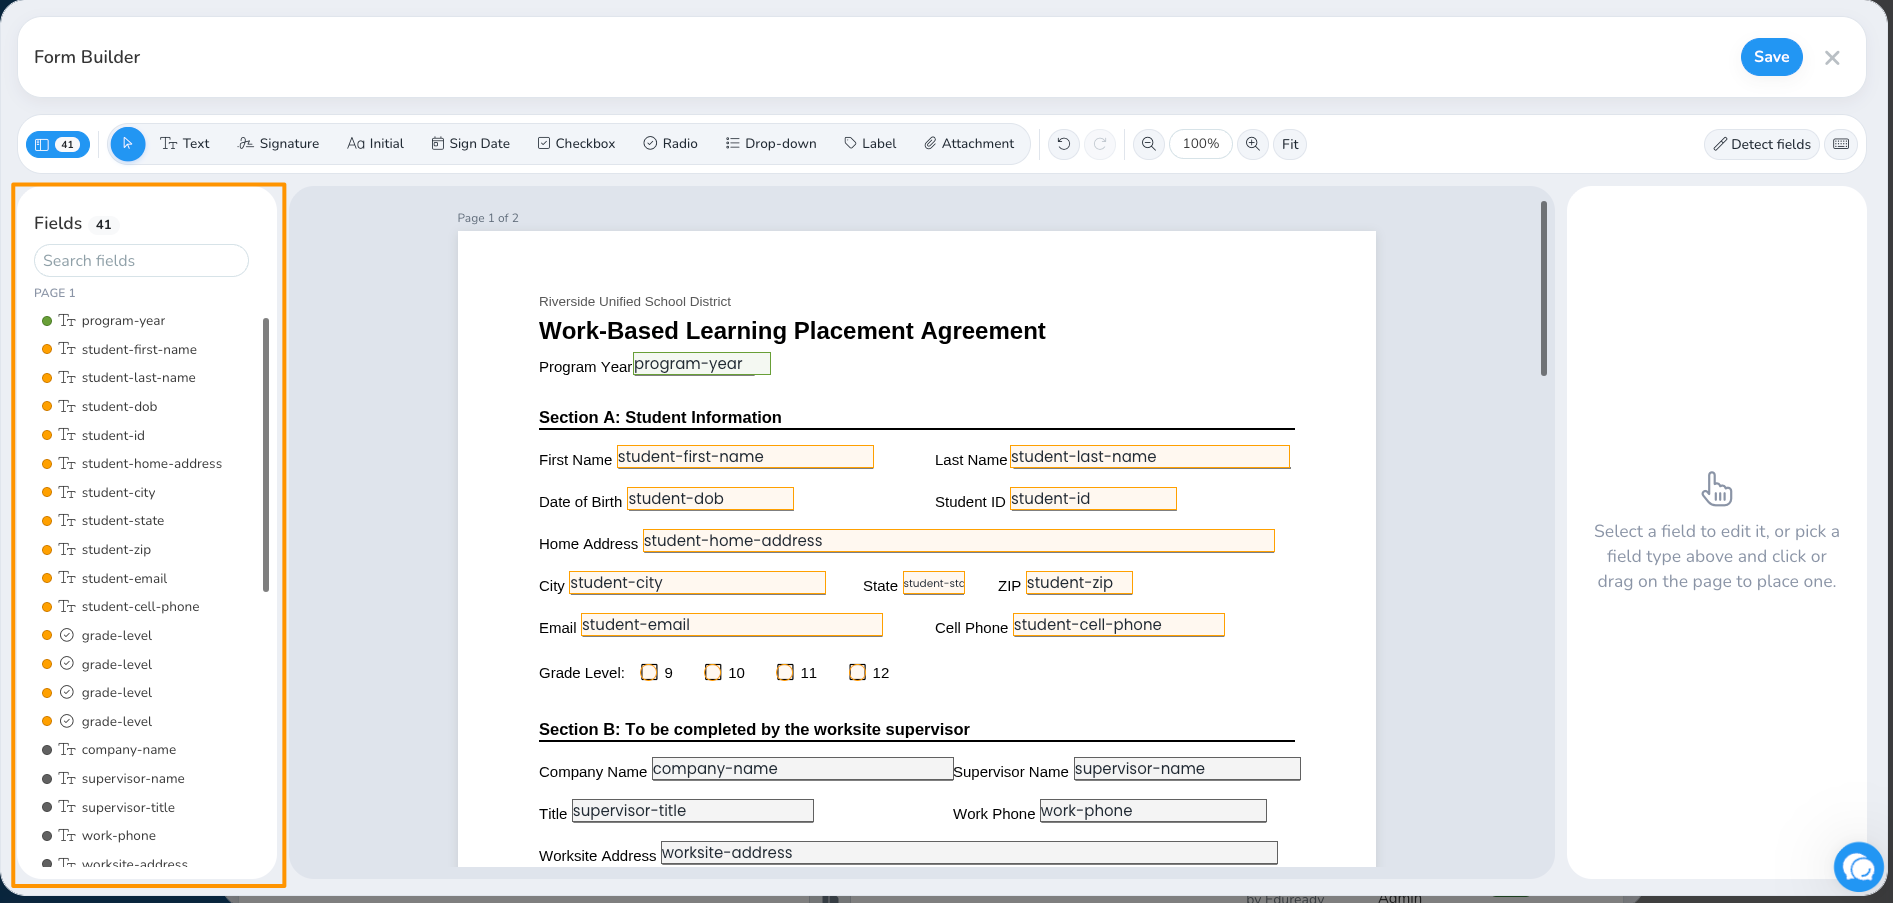
29. Find fields with the field list
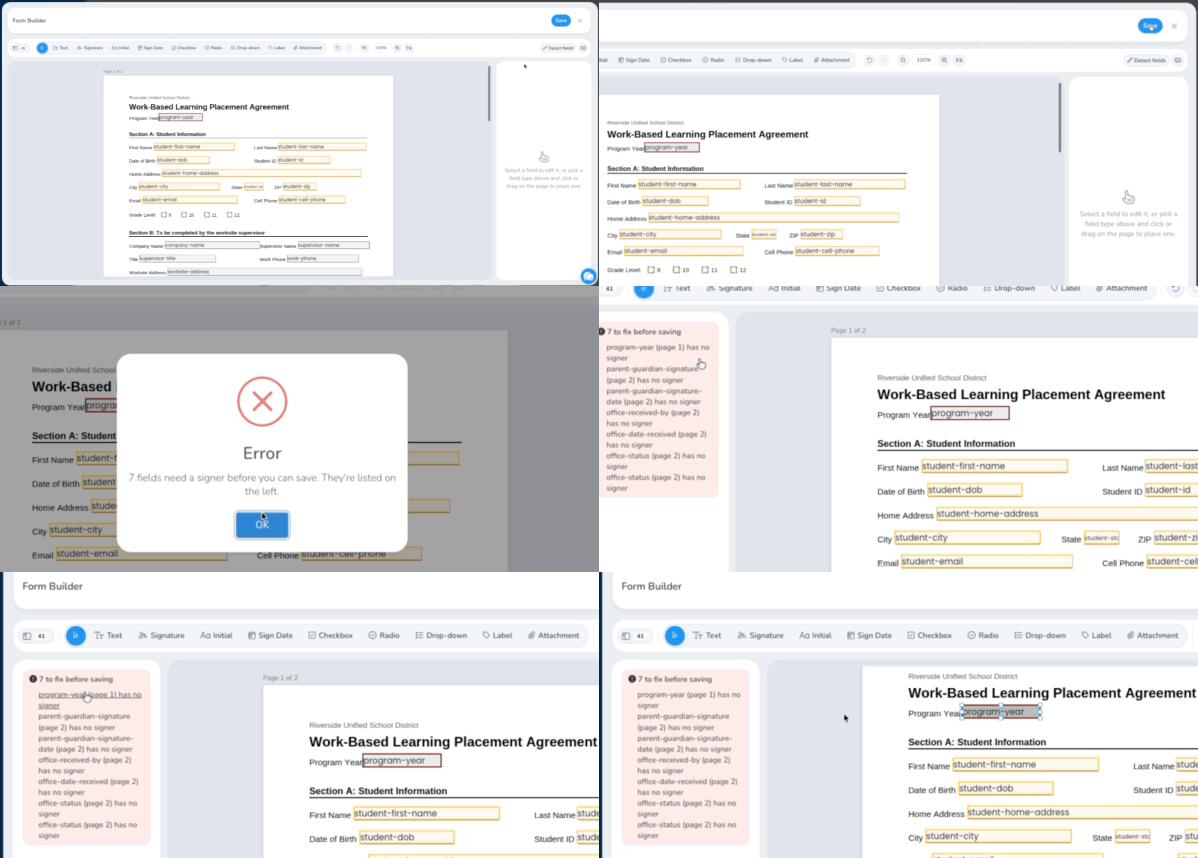
Click the list button at the far left of the toolbar to show the Fields list. It lists every field by page. Search by name, type, or signer, and click a field to jump to it. Fields that still need a signer are marked with a red !.
30. Save your form
Click Save at the top right, or press Ctrl+S. If any fields still need a signer, the builder tells you and lists them on the left. Click one to go straight to it.
If you try to close the builder with unsaved changes, it asks whether to discard them or keep editing.
Keyboard shortcuts
Click the keyboard button in the toolbar, or press ?, to see these in the builder. On a Mac, use ⌘ instead of Ctrl.